My intuition is to begin with a bit about the pragmatic motivations for the project, but if I’m being honest this came from a place of ‘I bet I could do this’ rather than ‘what my life needs isn’t remote controlled blinds, it’s voice controlled blinds’.
Anyway. My coworking space recently bought some remote controlled blinds. This is a story about how I connected them to Alexa.
The idea is to have an architecture like so

And we’d flow data through it

Digging into the details, we’ll start with the last step in our diagram: How do we replicate the remote’s commands?
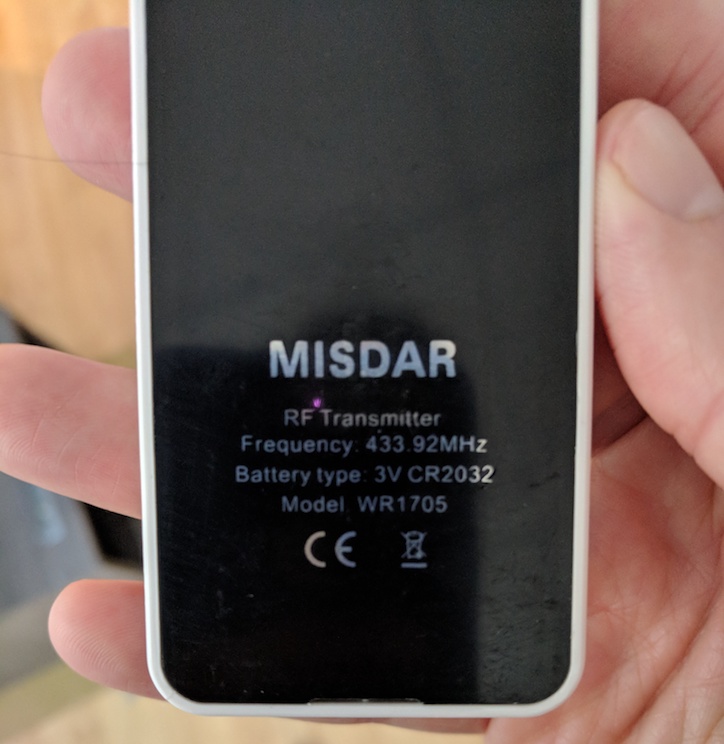
We’re off to an easy start as the remote lists its transmitting frequency on the back. Similar devices will have an FCC id that can be referenced to find the same information.
Next we’ll rely on a software defined radio and the amazing Universal Radio Hacker to record and analyze the remote’s messages.
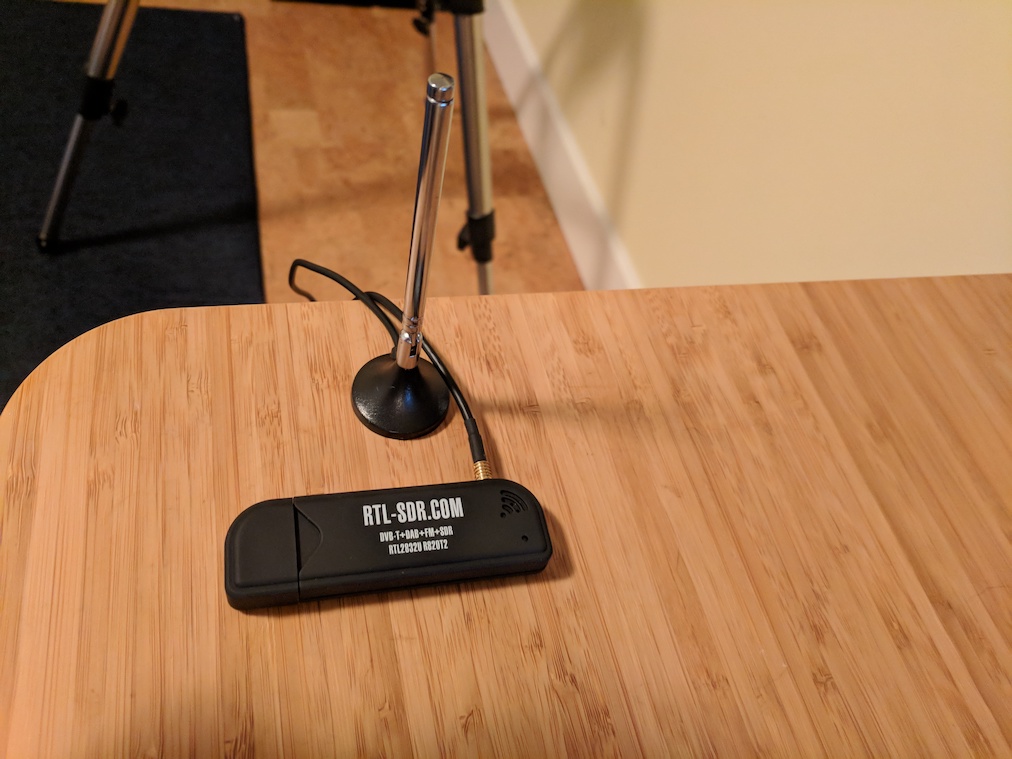
My SDR, similar to https://www.aliexpress.com/item/Ham-Radio-Receiver-100KHz-1-7GHz-full-Band-UV-HF-RTL-SDR-USB-Tuner-Receiver-USB/32894229299.html.
After recording a few taps of the remote, we can use Universal Radio Hacker to decode the message
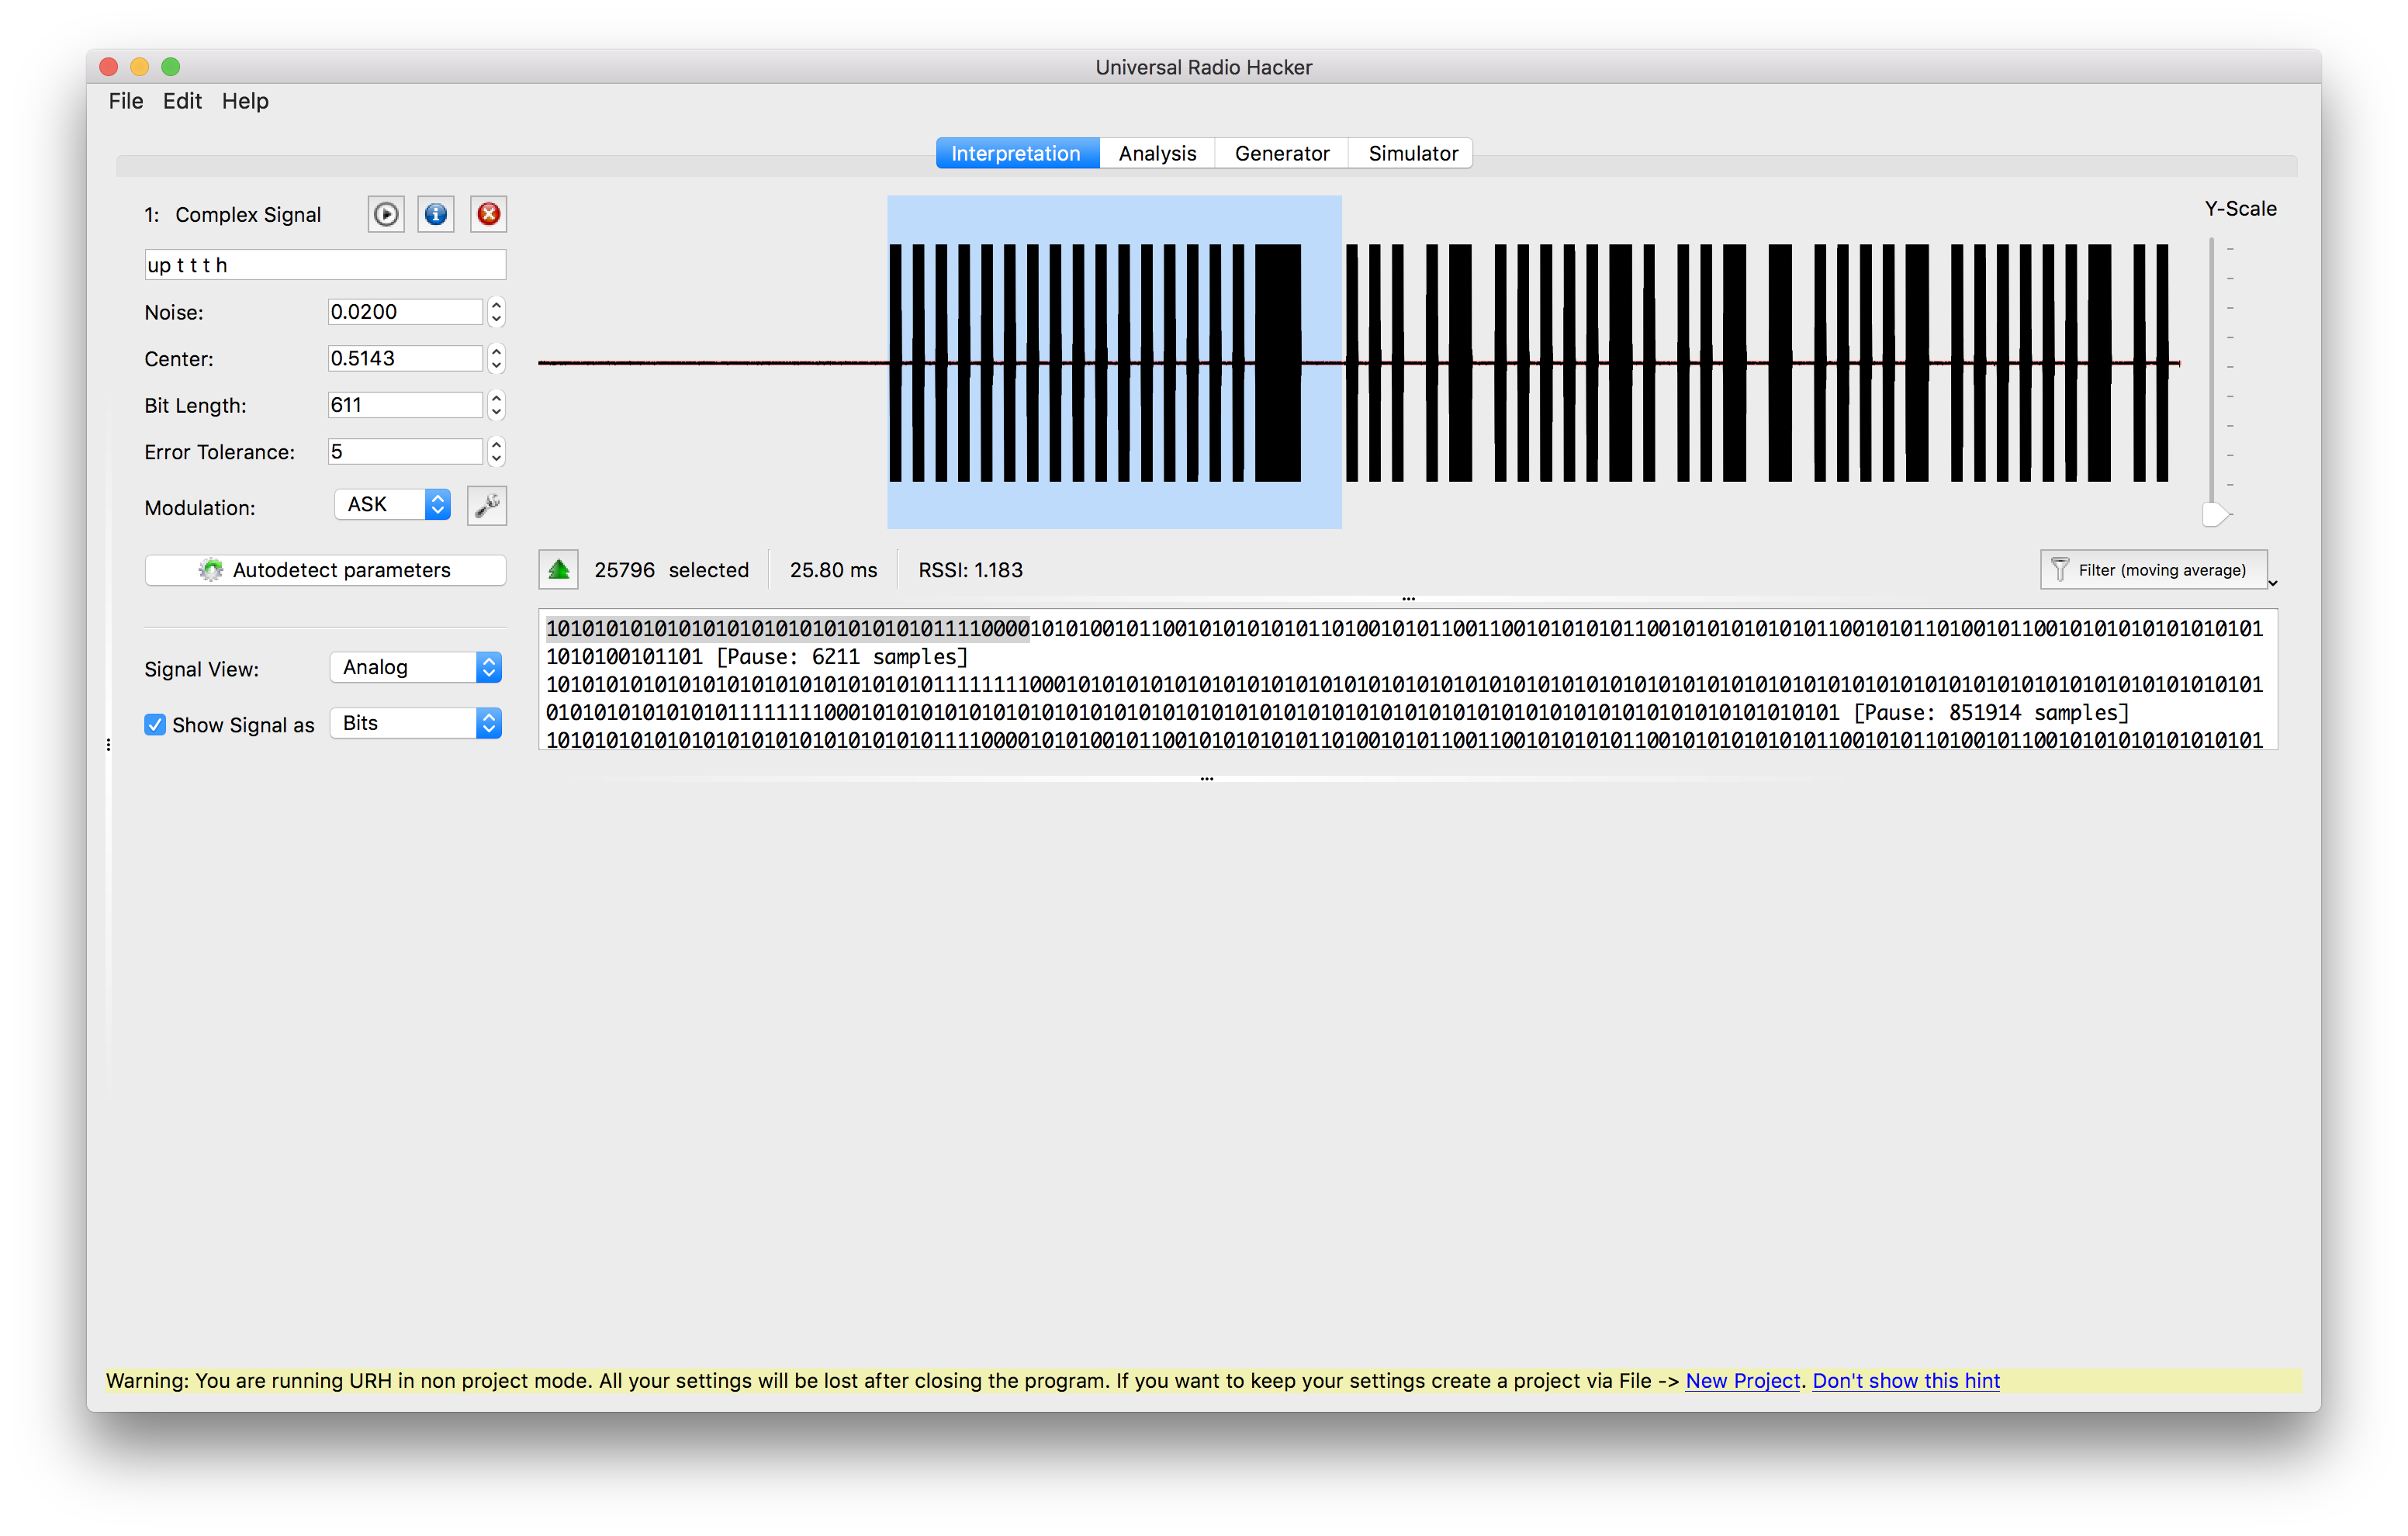
The process couldn’t have been easier. Looking at the raw signal, I took a (lucky?) guess that it used ASK modulation, and the software will then detect the bit length and produce an interpretation of the signal.
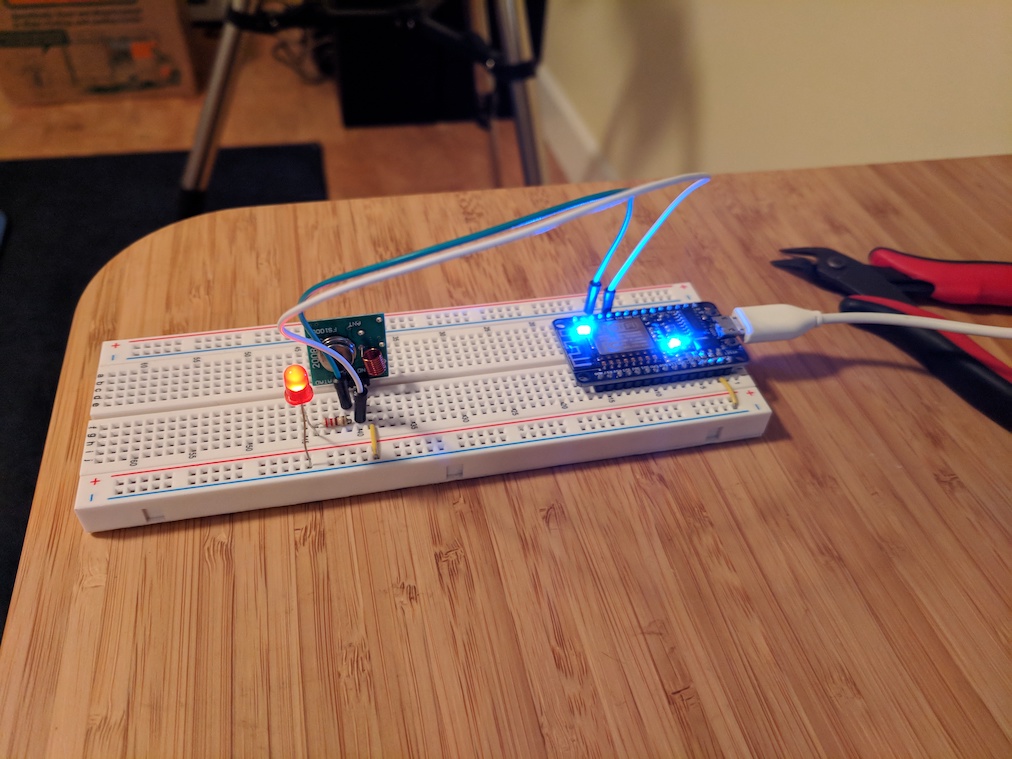
Next step is to check that we’re on the right path by transmitting the same code ourselves and making sure we can control the blinds. I used two components for this, an ESP8266 and a 433Mhz transmitter
Connected on a breadboard along with an LED give a cue when it’s transmitting
Now we can write some quick and dirty code to see whether we can move the blinds
And it works! I’m not sure I expected it to.
I feel self conscious posting that example using a String to store the command. Later we’ll switch to a more efficient encoding, but as a proof of concept, well, it proves the concept.
Moving on.
Next we’ll look at exposing the microcontroller over an HTTP interface. The plan here is to make a simple HTTP server to receive high-level actions like ‘Raise the blinds’ and pass them on the microcontroller in the form of the bits necessary to take that action.
This means we’ll have a process that’s listening on two ports. One port for incoming HTTP requests, and one port that our microcontrollers will connect to as they come online. We’ll then use the device information from the HTTP request to find the microcontroller to communicate with, look up its action mapping (e.g. for Stu’s blinds controller, the action ‘up’ means send 10101011’ at 300 bits / second), and encode and transmit the action to the microcontroller. To serialize the action we’ll use
<MESSAGE TYPE: 1 byte><BIT DURATION: 4 bytes><MSG LENGTH: 4 bytes><MSG: MSG LENGTH bytes>
The microcontroller side of this code was pleasingly simple to write. The ESP8266 has a built in wifi chip, and nice library support for creating a TCP connection. All we need to do is to write code to connect to our server and then handle the two message types our server sends: keep alives and actions.
We’re close now. We can control the blinds with curl, so we’re already living large. The last step is connecting our HTTP interface to the Alexa Smart Device system.
A couple of things need to happen here, and I’ll only touch on them as they’re well covered in Amazon’s docs. We need to write a lambda function that exposes our device’s interface and responds to voice commands from Alexa, and then provide an OAuth endpoint. All are well documented on Amazon.